Thursday, December 11, 2014

Final Adjustments

Final work is performed on the project today. The afternoon was spent with a trip to the electronics store to buy a motor shield, followed by a visit to Lowell to obtain 3D printed connectors to connect the motor gears to lego axles.

The lego axles fit into the connectors perfectly, but the depressions for the motor gears were slightly too small and imperfectly shaped to accept the gears. However, with much difficulty, the gears were eventually forced into their depressions, causing the connectors to crack somewhat, though not enough to compromise their structural integrity.

With the connectors finally ready, the motors were installed into the front of the hull and wired into the motor shield. After some time analyzing some example sketches, code controlling the behavior of the motors was injected into the main sketch for the project. If the IR Proximity Sensor detects an object nearby, the robot will immediately stop, reverse, then spin (achieved by rotating the wheels in opposite directions) for a specified interval of time: this interval of time would need to be decided by experimenting with how long it takes the robot to successfully maneuver 90 degrees.

Unfortunately the motors used do not generate enough torque to overcome the frictional forces presented by the rubber tires. With the tires removed, the robot is theoretically capable of moving, but the underside of the hull being expanded to provide additional space for the motors to be level with the axles means there is not enough clearance for the wheels to move without their tires. Additionally, it is believed that they present a heavy power drain which occasionally prevents both wheels from spinning at the same speed. With better hardware, these problems could be overcome.

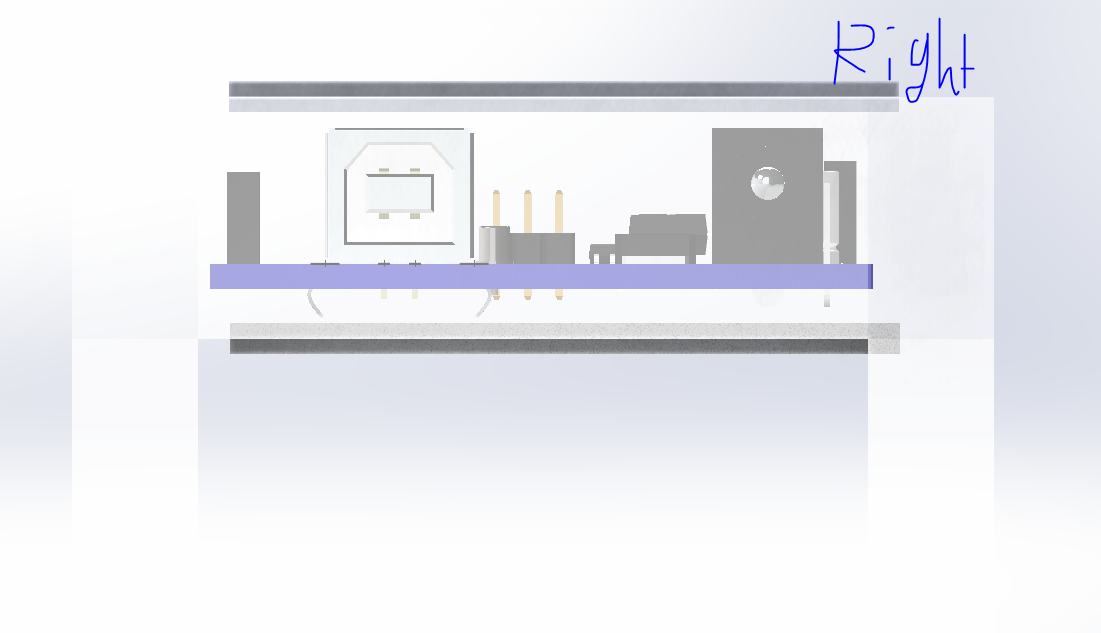
The completed motor system


The sensors were rather crudely affixed to the front of the hull with scotch tape.

Engineering at its finest


Lastly, the gun was installed.

Isometric view of completed robot

Top-down view


Wednesday, December 10, 2014

Epiphany

After much waiting for help with the complicated I2C sketches (which Jonathan was unfortunately not able to decipher,) I had a godsend while waiting between classes. While trying to determine why "WriteByte" and "ReadByte" were being reported as not being defined within the scope of the sketch, I idly noticed that these two were not used in the primary for loops of the sensor's respective example sketches. I had originally included them within the main for loop of the combined sketch, placing them within the if statements that were run if the shield was on the sensor's respective port. After a quick glance between the sketches of the two sensors, I noticed the Read and Write functions were the same for both. Therefore, I pulled the read and write functions out of the for loop, placing them subsequent to it - and like that, the sketch was verified 100%, ending much misery and frustration.

However, a new problem arose: The IR sensor kept registering an object as being detected, regardless of whether anything was placed before it. After waiting some time for coding help (again,) I decided to begin troubleshooting the problem myself again. My first thought was to determine if there was something wrong with the shield's ports, so I swapped the ports each sensor was connected to, to see if the line sensor kept registering false data while the proximity sensor operated fine. Miraculously, swapping the ports somehow managed to make both devices work correctly!

Additionally, the final housings for the motors were designed today. They incorporate arches which are connected to blocks on either side. It's a tight fit, and the force exerted by the arch on the motor, along with the limited space for movement, is generally sufficient to prevent them from being moved around while running.

The motor housings

Monday, December 8, 2014

Designing

The day way spent designing a basic linkage in order for a servo to pull the trigger of the gun. The design is shown around the gun below.


A number of lego beams wrap around the gun, terminating in a pair of gears. The linkage is connected to the gears slightly off the central axle. Thus, when the gears are rotated rearwards while the gun is fixed in place, the linkage is displaced backwards, depressing the trigger and firing the gun.

Sunday, December 7, 2014

Shopping

Numerous sensors would be needed for the robot to be able to interact with its surroundings in the desired manner. The machine would need to be able to detect obstacles in its environment and avoid them, and identify specific targets and fire on them. The only location to buy Arduino related products in the vicinity was You-Do-It Electronics in Needham, quite a ways a way. While there, an I2C (I-Squared-C) shield was purchased, along with a plug-in proximity sensor (in order to detect obstacles in the environment) and a line sensor (to distinguish between dark and light objects, the basis of the robot's IFF.)

After trying out the devices, it was clear that they may have been somewhat over the caliber of your average student with limited C programming knowledge. Initial attempts to combine the shield sketch with the sensor sketches were unsuccessful, necessitating additional research. An example of the I2C code can be found below.

// by OSEPP <http://www.osepp.com>
// This sketch demonstrates interactions with the IR Proximity Sensor
#include <Wire.h>
// Possible sensor addresses (suffix correspond to DIP switch positions)
#define SENSOR_ADDR_OFF_OFF (0x26)
#define SENSOR_ADDR_OFF_ON (0x22)
#define SENSOR_ADDR_ON_OFF (0x24)
define SENSOR_ADDR_ON_ON (0x20)
// Set the sensor address here
const uint8_t sensorAddr = SENSOR_ADDR_OFF_OFF;
// One-time setup
void setup() {
// Start the serial port for output
Serial.begin(9600);
// Join the I2C bus as master
Wire.begin();
// Turn on the sensor by configuring pin 1 of the GPIO expander to be an
// output pin; the default output value is already HI so there's no need
// to change it
WriteByte(sensorAddr, 0x3, 0xFE); }
// Main program loop
void loop() {
uint8_t val;
// Get the value from the sensor
if (ReadByte(sensorAddr, 0x0, &val) == 0) {
// The second LSB indicates if something was not detected, i.e.,
// LO = object detected, HI = nothing detected
if (val & 0x2) { Serial.println("Nothing detected"); }
else { Serial.println("Object detected"); } }
else { Serial.println("Failed to read from sensor"); }
// Run again in 1 s (1000 ms) delay(1000); }
// Read a byte on the i2c interface
int ReadByte(uint8_t addr, uint8_t reg, uint8_t *data) {
// Do an i2c write to set the register that we want to read from Wire.beginTransmission(addr);
Wire.write(reg);
Wire.endTransmission();
// Read a byte from the device
Wire.requestFrom(addr, (uint8_t)1);
if (Wire.available()) { *data = Wire.read(); }
else {
// Read nothing back
return -1; }
return 0; }
// Write a byte on the i2c interface
void WriteByte(uint8_t addr, uint8_t reg, byte data) {
// Begin the write sequence
Wire.beginTransmission(addr);
// First byte is to set the register pointer
Wire.write(reg);
// Write the data byte
Wire.write(data);
// End the write sequence; bytes are actually transmitted now
Wire.endTransmission(); 

Saturday, December 6, 2014

Second Attempt

The game board idea was eventually rejected due to the fact it did not incorporate any moving parts, a requirement for the project. The second concept for the project was centered on the idea of having a robot capable of patrolling an area, and being able to selectively fire at targets based on an IFF system. The basic hull was assembled from spare lego parts (in order to both facilitate ease of assembly and to save on time) while the afternoon was spent on a trip to K-Mart to buy the weapon system for this drone, a NERF pistol.

Friday, November 28, 2014

Proto Type

Week 4

Here is a prototype Render image of the Soldworks model.


Friday, November 21, 2014

Week 3

We decided to go with color LCD Game Table.

We began prototyping parts on solid works.

Here is a video from YouTube demonstrating the tetris game:
our prototype gaming table will have similar game as this.